


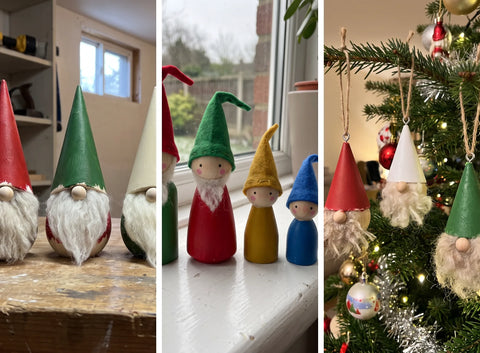
Every November our inbox fills up with the same kind of order: a handful of split balls, a few cones, a bag of small beads. By the second week of December we start seeing the results in photos from customers, rows of little wooden gnomes on windowsills, market stalls and Christmas trees.
Gnomes are one of the easiest Christmas crafts to make from raw wood. The shapes are simple, you need no tools beyond glue and a brush, and every one turns out slightly different. This guide covers three designs, from a simple gnome a child can make to a small batch of tree ornaments for selling at a market.

What You Need
Every gnome in this guide is built from the same few parts. All of them ship raw and sanded, ready for paint.
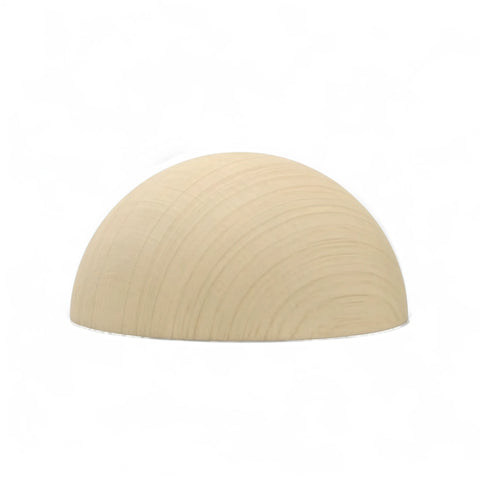
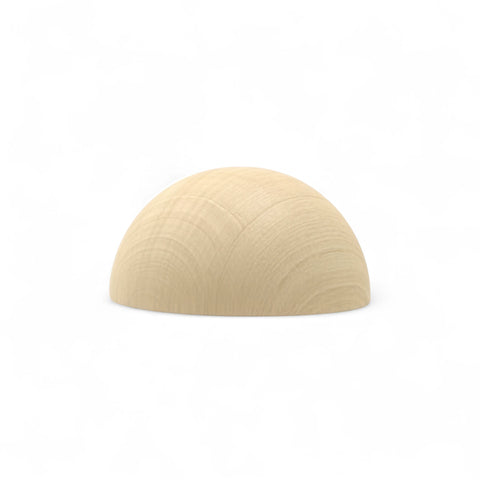
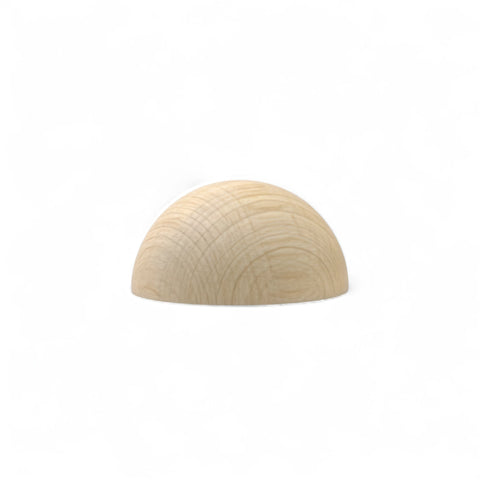
- A body: a birch wood split ball for a gnome that stands on its flat side, or a wooden peg doll for a taller figure.
- A hat: a birch wood cone, or a triangle of felt rolled into a cone if you prefer a soft, floppy hat.
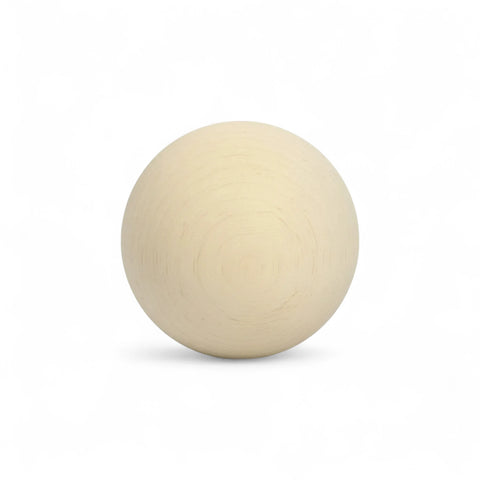
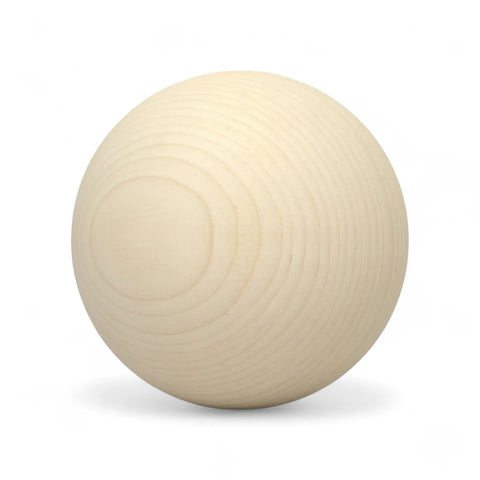
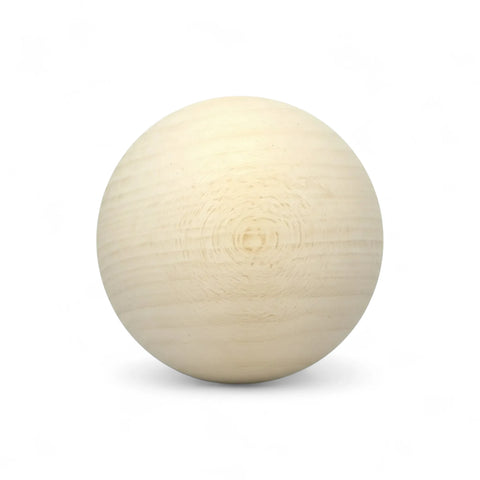
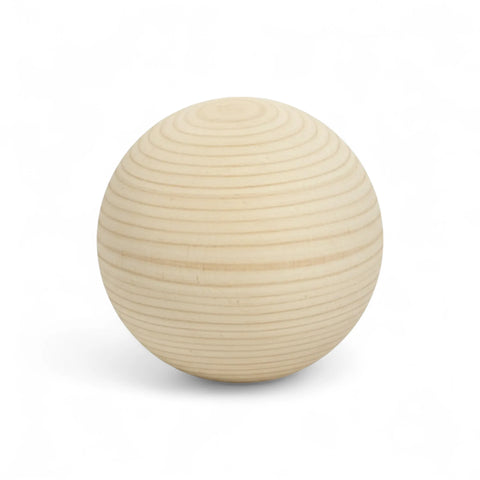
- A nose: a small wooden bead or a sanded wood ball. The nose is what makes a gnome look like a gnome, so do not skip it.
- A beard: wool roving, faux fur or thick white yarn.
- To finish: wood glue or a hot glue gun, acrylic paint, a small flat brush, fine sandpaper (240 grit) and, if you like, a matte water-based varnish.
Our Christmas gnome and dwarf decor collection groups the most popular bodies, hats and heads in one place, so you can pick a full set without hunting through the catalogue.
Gnome 1: The Classic Split Ball Gnome
This is the one we see most often. It stands firmly on a table, it is hard to get wrong, and it takes about twenty minutes plus drying time.
Parts: one 50 mm split ball, one 40 x 55 mm cone and one 12 mm bead.
- Paint the hat first. Hold the cone by its flat base and paint the sides. Two thin coats look better than one thick one. Leave the base bare so the glue grips raw wood.
- Paint the body. Stand the split ball on its flat side and paint the dome in a colour that contrasts with the hat. Cream, grey and forest green all work well under a red hat.
- Glue on the hat. Once both parts are dry, glue the base of the cone to the top of the dome. Press for a minute, then let it set.
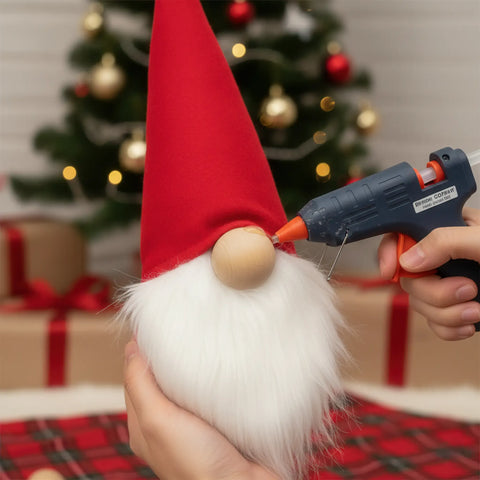
- Add the beard. Pull a tuft of wool roving about the length of the body, fluff it out, and glue its top edge just under the brim of the hat so it hangs down the front.
- Add the nose. Glue the bead on top of the beard, right where hat and beard meet. Leave it natural or dab it with a little pink or red.

Want a bigger centrepiece? Scale everything up: a 60 mm split ball with the 50 x 60 mm double cone as a tall hat gives a gnome that holds its own on a dining table.
Gnome 2: The Peg Doll Gnome Family
Peg dolls already have a head and a body, so they turn into gnomes with nothing more than paint and a felt hat. Because our peg dolls come in matched sizes, you can make a whole family in one sitting.
Parts: the 69 mm dad peg doll, the 69 mm mom peg doll, the 45 mm child and the 40 mm baby, plus felt in two or three colours.
- Paint the clothes. Paint the body of each doll up to the neck. Simple blocks of colour look best at this size.
- Paint the face, or leave it. Two dots for eyes and a touch of pink on the cheeks are enough. Many makers leave the head bare and let the beard and hat do the work.
- Make the hats. Cut a quarter circle of felt, roll it into a cone around the head, and glue the seam. Let the tip flop over for a softer look.
- Beards for the grown-ups. Glue a small wisp of wool under the hat on the dad, and on the mom too if you like a properly traditional gnome family.
A painted gnome family makes a lovely Advent table scene, and families often add one new figure each year.

Gnome 3: Mini Gnome Tree Ornaments
Small, light and quick to make in batches, these are the gnomes that sell best at Christmas markets and craft fairs.
Parts per ornament: one 30 mm split ball, one 30 x 50 mm cone and one 8 mm bead, plus a small screw eye and some twine.
- Fit the hanger first. Twist a small screw eye into the tip of the cone before painting, so you can hang the hat to dry.
- Paint in batches. Hang the cones on a line and paint them all at once, then do the same with the split balls standing on a tray.
- Assemble. Glue cone to split ball, add a short beard and the bead nose, exactly as for Gnome 1.
- Hang. Thread a loop of twine through the screw eye and tie it off.
Because the cone and split ball are the same 30 mm diameter, the hat sits flush with the body and the ornament looks clean from every side on the tree.

Tips for a Better Finish
- Sand lightly after the first coat. Raw birch raises its grain slightly when it gets wet. A quick pass with 240 grit sandpaper after the first coat of paint gives a much smoother second coat.
- Glue raw wood to raw wood. Keep paint off the surfaces you are gluing. Glue holds far better on bare wood than on a layer of acrylic.
- Seal if they will be handled. A thin coat of matte water-based varnish protects the paint on ornaments that come out of the box every year.
- Try natural wood. Not every gnome needs paint. A raw birch body with a red hat and a white beard looks clean and Nordic.
Making Gnomes with Children
The classic split ball gnome is a great project for school age children: big parts, simple steps and a quick result. Use wood glue rather than a hot glue gun, and let the adults handle the screw eyes.
Keep in mind that finished gnomes are decorations, not toys. Small parts such as 8 mm and 12 mm beads are a choking hazard for children under three. If you are making something that may end up in a small child's mouth, read our guide to food-safe and baby-safe wood finishes first.
Making Gnomes to Sell
Many of our customers make gnomes for Christmas markets, craft kits and school workshops. A few things that help when you are working in volume:
- Order early in November. That leaves time for painting, drying and packing before the markets open.
- Order spares. Plan for a few extra parts per hundred to cover painting mistakes and test pieces.
- Think in kits. One split ball, one cone, one bead and a tuft of wool in a small bag makes a simple DIY gnome kit for craft shops and workshops.
For volume pricing on 500 units and up, use our B2B quote and registration form. If you need a cone, ball or body in a size that is not in the catalogue, send us a sketch through the custom order form. Every part is turned in our family workshop in Lithuania.
Start Your Gnomes
Everything in this guide is in our Christmas gnome and dwarf decor collection. Pick a body, a hat and a nose, and you are ready to start. When you finish your gnomes, we would love to see them, so tag us or send us a photo.






Comments (0)
There are no comments for this article. Be the first one to leave a message!